


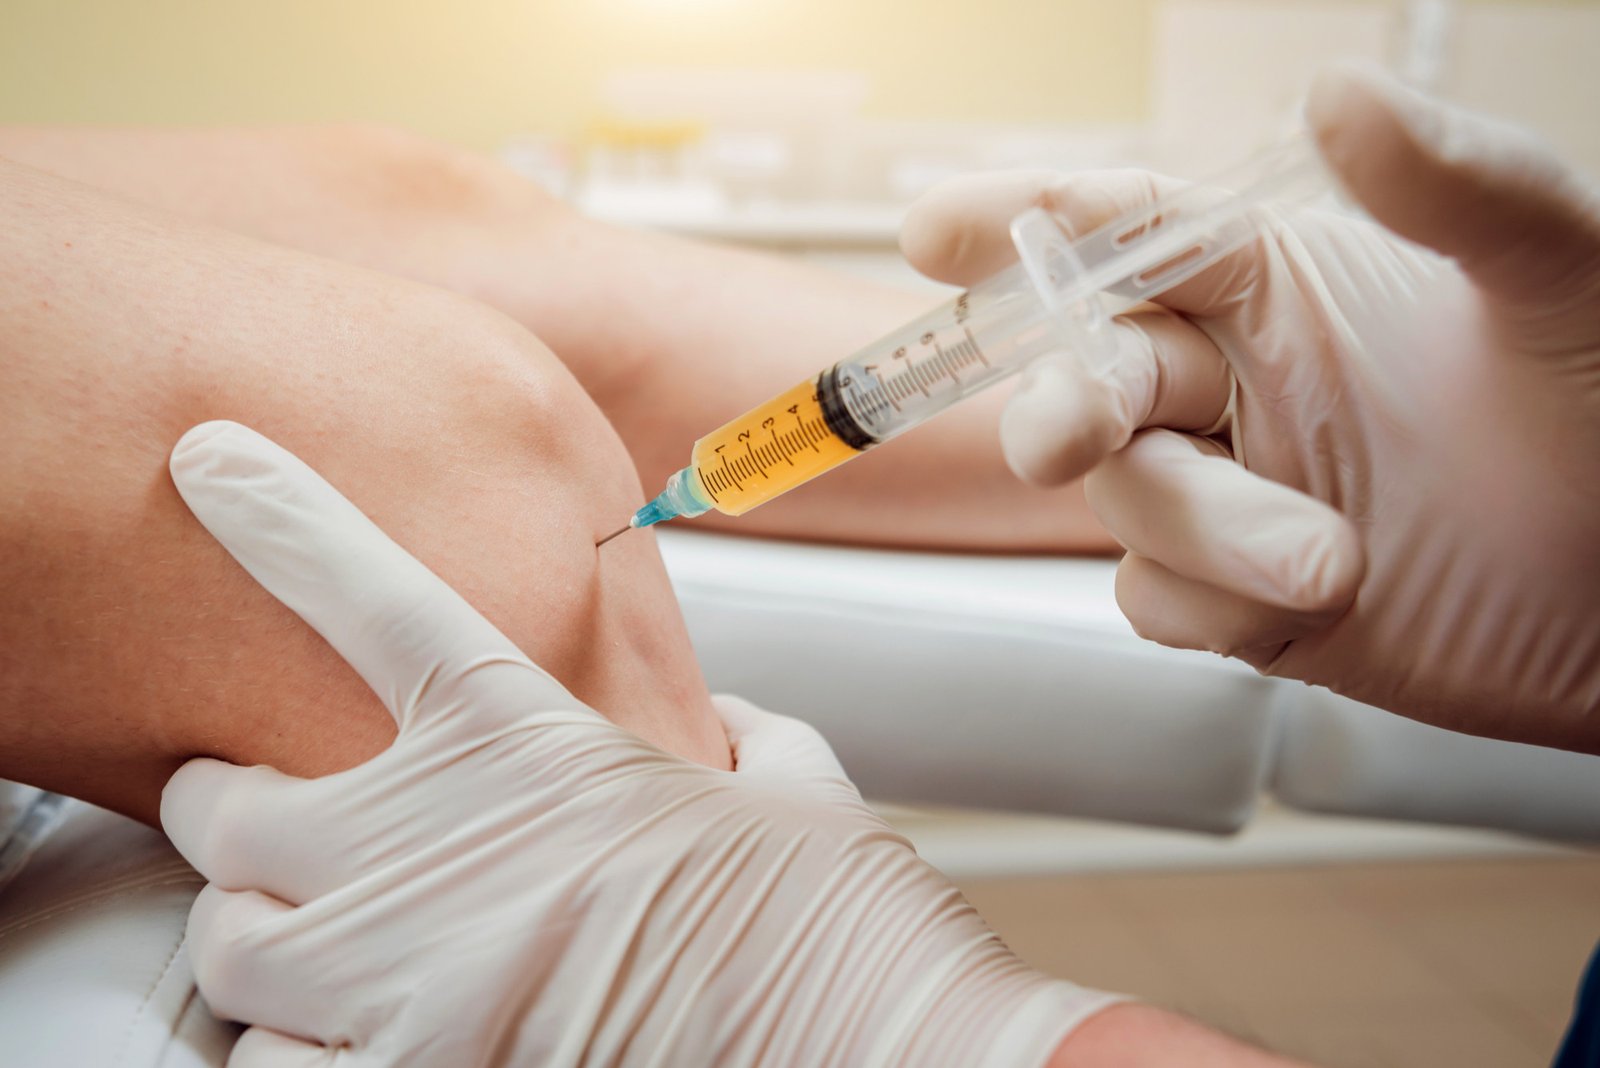
Platelet-rich plasma (PRP) and other orthobiologic injections, such as bone marrow concentrate or micro-fragmented adipose tissue, support healing in joints, tendons, and ligaments. While technique matters, what you do before and after the procedure often shapes the outcome just as much. Small choices about medications, hydration, activity, and rehab timing influence platelet function, injection accuracy, and how tissue remodels in the weeks that follow. This guide outlines practical, medically common-sense steps to discuss with your clinician so you can arrive prepared, protect the early healing phase, and progress loading at the right time without stalling recovery.
-
Verify the diagnosis and plan timing with imaging and workload review.
Before scheduling, confirm what you are treating and when you will treat it. Correlate your exam findings with imaging such as ultrasound for tendons or MRI for cartilage and labral involvement. A partial-thickness rotator cuff tear behaves differently than chronic tendinopathy, and a PRP protocol for patellar tendon pain is not the same as one for knee osteoarthritis. Review your training or activity log to identify flare patterns, recent deloads, and upcoming demands. Reframe your calendar so the first 3 to 7 days after the injection do not coincide with business travel, tournaments, or long hikes that would stress the treated tissue.
Reputable clinics often publish preparation and aftercare checklists, and patient education pages from resources like Limitless Regen can help you formulate questions about candidacy, imaging, guidance (ultrasound or fluoroscopy), and rehab timelines. Use those checklists to create a written plan: when to modify training, which assistive devices you might need (for example, a hinged knee brace or crutches), and how you will monitor pain and function across the first six weeks.
-
NSAIDs, steroids, and supplements: what to discuss before PRP or other orthobiologics
Many protocols ask patients to pause nonsteroidal anti-inflammatory drugs (NSAIDs) such as ibuprofen and naproxen ahead of PRP because they may blunt platelet activation and the early inflammatory signaling that begins tissue repair. Corticosteroid injections near the treatment date can also counter the pro-healing intent of orthobiologics; coordinate timing with your clinician. If you take anticoagulants or antiplatelet agents, do not change them on your own; confirm any adjustments with the prescribing physician. Ask about high-dose fish oil, turmeric/curcumin, and garlic supplements, which can affect platelet function, and clarify alcohol and nicotine limits. Prioritize hydration and regular meals in the 24 to 48 hours before a blood draw; well-hydrated patients typically yield more consistent PRP volumes and concentrations.
A common mistake is treating the week before an injection like any other training week. Picture a runner with Achilles tendinopathy who does uphill intervals and takes ibuprofen daily, then arrives dehydrated after a morning fast. The combination of high tendon load, NSAID use, and poor hydration can reduce platelet quality, sensitize the tendon, and make the early post-injection phase more uncomfortable. Instead, discuss a deload period, switch to acetaminophen when appropriate for pain, and keep water intake steady so the draw and processing go smoothly.
-
Day-of choices: guidance, anesthetic use, and practical logistics
On the day of treatment, wear clothing that exposes the target area (shorts for the knees, a tank top for the shoulder tendons) and bring prior imaging. Ask whether the injection will be guided by ultrasound or fluoroscopy; imaging guidance helps place biologics precisely at the tendon origin, enthesis, or within the intra-articular space, rather than relying on landmarks alone. Clarify the pain-control plan: topical anesthetic, a small ring block, or nerve block. Larger volumes of local anesthetic can dilute the injectate; many clinicians use minimal anesthetic at the target to avoid altering platelet behavior. If you treat a lower limb or use a sedative, arrange transportation rather than driving yourself.
Technique choices involve trade-offs. Leukocyte-rich PRP can suit stubborn tendinopathies that benefit from stronger inflammatory signaling, while leukocyte-poor PRP is often used intra-articularly to reduce post-injection irritation. A more aggressive anesthetic approach may feel better in the moment but could limit needle fenestration feedback or spread the biologic. Discuss these details so expectations are set before the syringe leaves the tray.
-
First 72 hours after injection: load protection without total rest
Expect a soreness window, sometimes described as a deep ache at the joint line or along the treated tendon, for 24 to 72 hours. Most protocols avoid NSAIDs and emphasize relative rest to allow the early inflammatory phase to proceed. You can use acetaminophen if your clinician approves. Heat often feels better than ice for tendons post-PRP, while gentle, pain-limited range of motion helps keep joints from stiffening. Offload the lower extremities with crutches for short walks, or use a cane in the opposite hand, and consider a brace or heel lift if advised. Avoid deep tissue massage, aggressive compression, or cupping over the injection site during this window.
Imagine a desk worker treated for lateral epicondylitis who returns home and lifts a water cooler jug that evening. Gripping and elbow extension under load can re-irritate needle tracks and the tendon-enthesis, causing inflammation beyond the intended response. A better plan is to keep items under a few pounds, use the non-treated arm to carry, and set up the workstation so the wrist stays neutral, with the mouse close to the body, for the first few days.
-
Weeks 1–6: graded loading, milestones, and follow-up
After the initial rest phase, the goal shifts to rebuilding capacity. Many tendon protocols start with isometrics (for example, mid-range holds for the patellar or Achilles tendon) in days 3 to 7, progress to slow eccentrics and heavy-slow resistance over weeks 2 to 4, and layer in functional drills in weeks 4 to 6. Joint-focused care often emphasizes controlled range of motion, neuromuscular control, and closed-chain stability before impact work. Use a simple 0-10 pain scale: mild symptoms that settle within 24 hours are usually acceptable; persistent spikes signal you progressed too quickly. Track step counts after lower-limb treatments and cap early daily totals to avoid inadvertent overload from errands.
Schedule a check-in between weeks 4 and 6 to review benchmarks: morning stiffness duration, single-leg calf-raise counts, grip strength with a dynamometer, or squat depth without pain. Outside the gym, protect the biology with the basics that matter to connective tissue: consistent sleep, adequate protein spread across meals, hydration, and no tobacco exposure. If improvements plateau or a new pain pattern emerges, your clinician can adjust loading or consider additional imaging to reassess the target.
Thoughtful preparation and disciplined aftercare give orthobiologic treatments a better chance to work. By tightening up medication timing, arriving hydrated, choosing guided placement, and following a graded-loading plan that respects tendon and cartilage biology, you manage the variables within your control. Use objective milestones, not the calendar alone, to drive progress, and keep communication open with your care team. When each stage aligns with how tissues heal, you are more likely to return to lifting, running, and daily tasks with durable confidence rather than quick, fragile relief.
